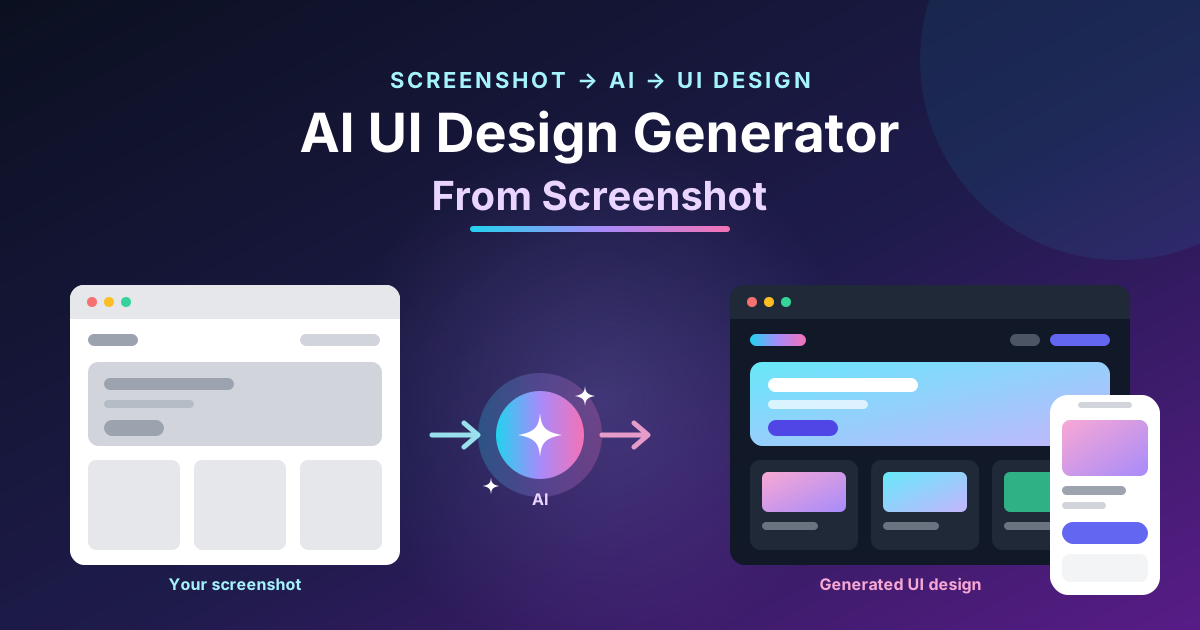
Creating a user interface from scratch takes time, especially when a designer needs to recreate an existing website, mobile application, or dashboard. Even a simple interface may contain navigation menus, buttons, text fields, cards, icons, images, and carefully aligned sections. Rebuilding every element manually can slow down the design process and make it difficult to experiment with different layouts.
An AI UI design generator from screenshot helps simplify this work by analyzing a visual reference and attempting to reconstruct its interface as an editable design. Instead of using a screenshot only as inspiration, designers can use artificial intelligence to identify interface elements, estimate their positions, and generate a starting point for further editing.
This technology is useful for UI/UX designers, web developers, freelancers, startups, and product teams that want to turn visual ideas into practical design files.
However, AI-generated interfaces are not always perfect. The most effective workflow combines automated generation with human review, thoughtful design decisions, and usability improvements.
In this guide, you will learn how AI screenshot-to-UI tools work, their main benefits, essential features, practical applications, and the steps required to achieve better results.
What Is an AI UI Design Generator From Screenshot?
An AI UI design generator from screenshot is a tool that uses artificial intelligence and image analysis to recreate a user interface from a static image.
The source image might be a website screenshot, mobile app screen, dashboard, landing page, or design reference. The tool analyzes the visual content and attempts to identify elements such as headings, paragraphs, buttons, images, cards, and navigation sections.
Depending on the software, the generated output may be an editable design, a collection of interface layers, a frontend implementation, or a visual mockup.
How Does Screenshot-to-UI Generation Work?
Most AI-powered screenshot conversion workflows involve several stages.
Image analysis: The tool examines the screenshot to understand its layout, visual hierarchy, colors, and content.
Element recognition: Image recognition and other AI techniques attempt to identify text, buttons, images, containers, and common UI patterns.
Layout reconstruction: The system estimates the dimensions, spacing, alignment, and relationships between interface elements.
Design generation: The tool recreates the detected structure in a supported format, which may include editable design elements or code.
Manual refinement: The designer reviews the output, corrects mistakes, and adjusts the interface to meet project requirements.
The quality of the result depends on the tool, screenshot resolution, interface complexity, and the clarity of the original image.
Is the Generated Design Fully Editable?
Not necessarily. Some tools generate separate text layers, shapes, images, and containers, while others produce a flattened mockup or frontend code.
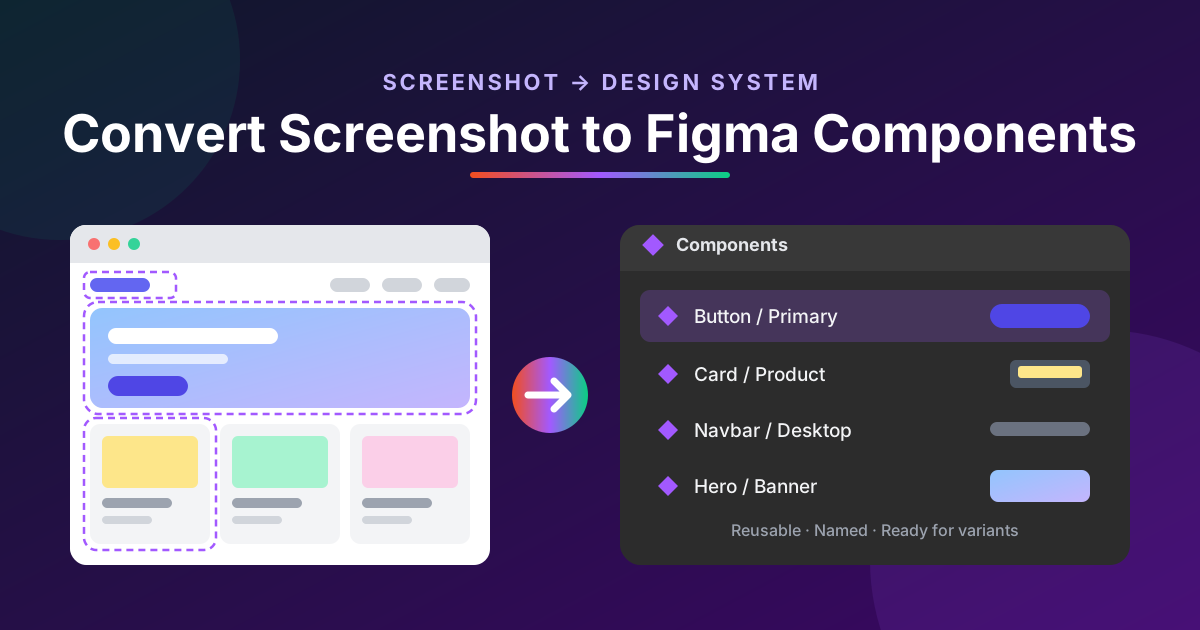
Before choosing an AI UI generator, check what its export actually contains. A design that looks similar to the screenshot is not automatically a fully editable Figma file or a reusable component library.AI Screenshot to Figma Converter
Benefits of Using an AI UI Design Generator From Screenshot
1. Faster UI Design and Prototyping
Traditional interface recreation requires designers to measure dimensions, rebuild individual elements, match typography, and position every object.
An AI UI design generator can automate parts of this process and provide an initial layout. Designers can then spend more time refining the experience instead of reproducing every detail manually.
This is particularly helpful for landing pages, admin dashboards, and interface concepts with recognizable visual patterns.
2. Turn Visual References Into Editable Designs
A screenshot is useful for reviewing an interface, but it offers limited flexibility when changes are required.
Screenshot-to-UI conversion can help transform the reference into individual design elements. Depending on the tool, designers may be able to modify text, replace images, change colors, resize buttons, and rearrange sections.
This makes the output more practical for redesign projects, design reviews, and collaborative workflows.
3. Explore Multiple Design Ideas
Designers often need to compare different layouts before selecting a final direction.
An AI-powered design tool can provide a starting point for experimenting with typography, colors, content structure, and component placement. Some tools also support generating alternative layouts from the same reference.
This can help teams explore possibilities quickly, although every variation should still be evaluated against the project’s goals and audience.
4. Reduce Repetitive Work
Many interfaces use familiar patterns, such as navigation bars, search fields, product cards, pricing tables, and call-to-action buttons.
AI screenshot analysis can help identify these patterns and recreate parts of the layout. The designer can then organize repeated elements into reusable components where the output format and tool support them.
This approach can reduce repetitive work without eliminating the need for design judgment.
5. Improve Collaboration Between Designers and Developers
A structured design file can make it easier for designers and developers to discuss layout requirements and implementation details.
When a tool produces usable layers or code, teams can review the structure, adjust visual details, and identify areas that need further development.
However, generated frontend code should be reviewed for maintainability, accessibility, responsiveness, and security before it is used in a production project.
How to Use an AI UI Design Generator From Screenshot
The exact workflow varies by tool, but the following process provides a reliable starting point.
Step 1: Choose a Clear Screenshot
Start with a high-quality image of the interface you want to recreate. Clear screenshots make it easier for AI systems to identify text, buttons, icons, and section boundaries.
Remove unnecessary browser controls or unrelated content if possible. If you are working with a mobile interface, use an image that clearly shows the screen dimensions and relevant elements.
Avoid uploading confidential customer information or private business interfaces to third-party tools unless their privacy and data-handling policies are suitable.
Step 2: Upload the Image
Open your chosen screenshot-to-UI tool and upload the image in a supported format, such as PNG or JPG.
Some tools allow you to paste a screenshot directly into the workspace. Others may provide browser extensions, design plugins, or dedicated upload interfaces.
Check whether the tool supports the type of interface you want to recreate, particularly if the image contains a long webpage or a complex dashboard.
Step 3: Generate the Initial UI Design
Allow the tool to analyze the screenshot and create its initial output.
Depending on the software, you may receive editable interface elements, a design mockup, or generated HTML and CSS.
If the tool supports text prompts, specify useful requirements such as the target screen size, preferred layout structure, design style, or intended platform.
For example, you could request an editable desktop dashboard with a left navigation panel, a top search bar, summary cards, and a data table.
Step 4: Review the Generated Layout
Compare the generated design with the original screenshot.
Look for incorrect text, misplaced buttons, missing sections, inconsistent spacing, inaccurate image cropping, and duplicated elements. Complex icons and overlapping content may need particular attention.
Do not assume that the first output is ready for delivery. Automated reconstruction often requires additional work.
Step 5: Export to Your Design Tool
If you want to continue editing the interface in Figma, check whether the generator supports direct Figma integration, a compatible import format, or another practical export method.
Once imported, review the layer hierarchy and rename important elements. Organize related objects into frames and groups so the design remains understandable.
If the generator produces only code, you may need a separate workflow to turn that output into a design file.
Step 6: Refine the Interface
Adjust the typography, colors, spacing, borders, and alignment to improve visual consistency.
Use reusable components for repeated elements, and apply Auto Layout where appropriate if you are working in Figma.
You should also consider responsive behavior. A screenshot usually captures only one viewport, so mobile layouts, flexible containers, and alternative navigation states may need to be designed separately.
Step 7: Validate the Final Result
Review the design at relevant screen sizes and test important interface states.
Check contrast, readability, button clarity, keyboard accessibility where applicable, and whether the layout supports the intended user journey.
A visually accurate recreation is not necessarily a usable interface. The final design should satisfy functional and accessibility requirements as well as visual expectations.
Essential Features to Look for in an AI Screenshot-to-UI Tool
Accurate UI Element Detection
A capable tool should recognize common interface elements, including headings, paragraphs, buttons, images, navigation bars, and content cards.
Better recognition can reduce manual reconstruction, although complex visual effects and unusual layouts may still require corrections.
Editable Layers and Components
For designers who use Figma, editable text, shapes, images, and organized layers are particularly valuable.
Check whether the software supports reusable components or simply generates separate objects. Component support can help teams maintain consistent styles across multiple screens.
Responsive Layout Support
Modern websites need to work across desktop, tablet, and mobile devices.
A screenshot alone cannot fully describe responsive behavior. Look for tools that allow responsive adjustments or provide a practical way to refine layouts after generation.
Design-to-Code Capabilities
Some AI tools generate frontend code alongside or instead of a design file. This can be useful for developers who want to move from a visual reference to a working interface.
Evaluate the output for clean structure, reusable styles, accessibility, and maintainability rather than judging it solely by visual similarity.
Flexible Export Options
Before committing to a tool, confirm that its output works with your existing workflow. Relevant options may include Figma integration, image export, editable design files, or frontend code.
Also compare usage limits, pricing, supported file formats, and privacy controls.
Common Use Cases for AI UI Design Generation
Website Screenshot to UI Design
Web designers can use screenshot-to-UI tools to recreate landing pages, business websites, pricing pages, and content layouts.
The generated design can serve as a foundation for a redesign or as a starting point for developing a new interface.
Mobile App Interface Recreation
Mobile app screenshots contain useful visual references for navigation, forms, profile screens, and other common interface patterns.
AI-assisted reconstruction can help designers explore these patterns and create editable concepts for new or updated applications.
Dashboard and Admin Panel Design
Dashboards often contain tables, summary cards, charts, filters, and navigation panels.
A screenshot generator can help establish the basic structure of these interfaces, although complex charts and data-dependent elements may need to be rebuilt or connected to real data.
Rapid Product Prototyping
Startups and product teams can use screenshot-based generation to explore concepts before investing in a complete design system.
The resulting mockup can be refined through stakeholder feedback and usability testing before development begins.
Design Learning and Practice
Students and beginner designers can recreate public interface references to understand spacing, visual hierarchy, typography, and component structure.
These exercises are most useful when they involve analyzing why a layout works rather than simply copying its appearance. Designers should also respect copyright and licensing requirements when using third-party designs.
Common Challenges and How to Solve Them
Inaccurate Text Recognition
Small text, unusual fonts, and low-resolution images can lead to incorrect text layers.
Use clearer source images and manually proofread the generated content. Avoid relying on AI-generated text when the original wording must remain exact.
Incorrect Spacing and Alignment
AI systems may misinterpret the boundaries between interface sections or estimate margins inaccurately.
Correct the main layout first, then refine individual elements. Consistent spacing rules can help make the finished design more coherent.
Poor Layer Organization
Some generated designs contain vague layer names, unnecessary groups, or elements that are difficult to edit.
Organize related objects into logical frames, use descriptive names, and create reusable components where appropriate.
Missing Interactions and Responsive Behavior
A screenshot does not show every interactive state or how an interface adapts to different screens.
Add missing states, define prototype interactions, and test alternative viewport sizes. These steps are essential when transforming a static reference into a functional design concept.
Best Practices for Better Results
To get more value from an AI UI design generator from screenshot, follow these recommendations:
- Start with a high-resolution screenshot.
- Generate one screen or clearly defined section at a time when the interface is complex.
- Provide specific instructions when prompt-based customization is available.
- Verify text, icons, spacing, and colors manually.
- Prefer editable layers over flattened output when you need ongoing design control.
- Use reusable components for repeated interface patterns.
- Check accessibility and responsive behavior separately.
- Review privacy policies before uploading sensitive designs.
- Treat generated output as a draft that needs professional review.
These practices help balance automation with the accuracy and usability expected from a professional UI design.
Conclusion
An AI UI design generator from screenshot can simplify the process of transforming static interface images into editable design concepts. By automating parts of layout reconstruction and element recognition, these tools help designers explore ideas, accelerate prototyping, and reduce repetitive work.
The best results come from choosing a tool that fits your workflow, starting with a clear screenshot, reviewing the generated elements, and refining the design manually. If you plan to use Figma, prioritize editable layers, practical export options, and support for reusable components.
AI can make interface recreation more efficient, but it cannot automatically recover every design decision, interaction, or responsive rule from a single image. Combining AI-generated drafts with human expertise produces designs that are not only visually convincing but also maintainable, accessible, and ready for further development.

One thought on “AI UI Design Generator From Screenshot: A Complete Guide”