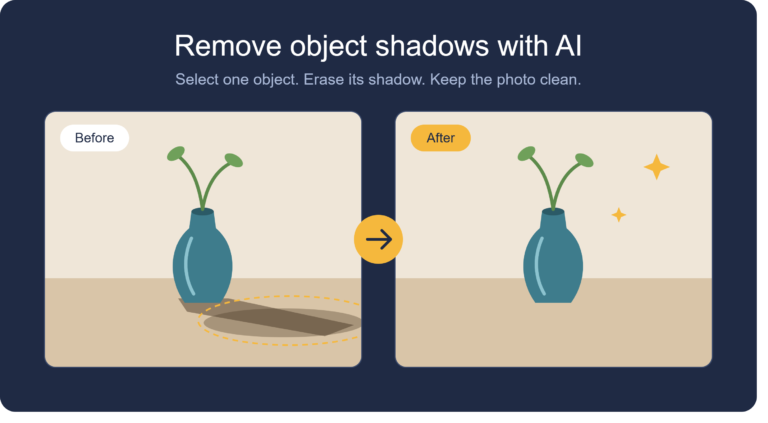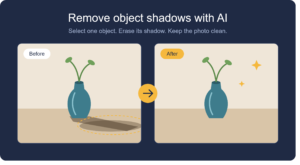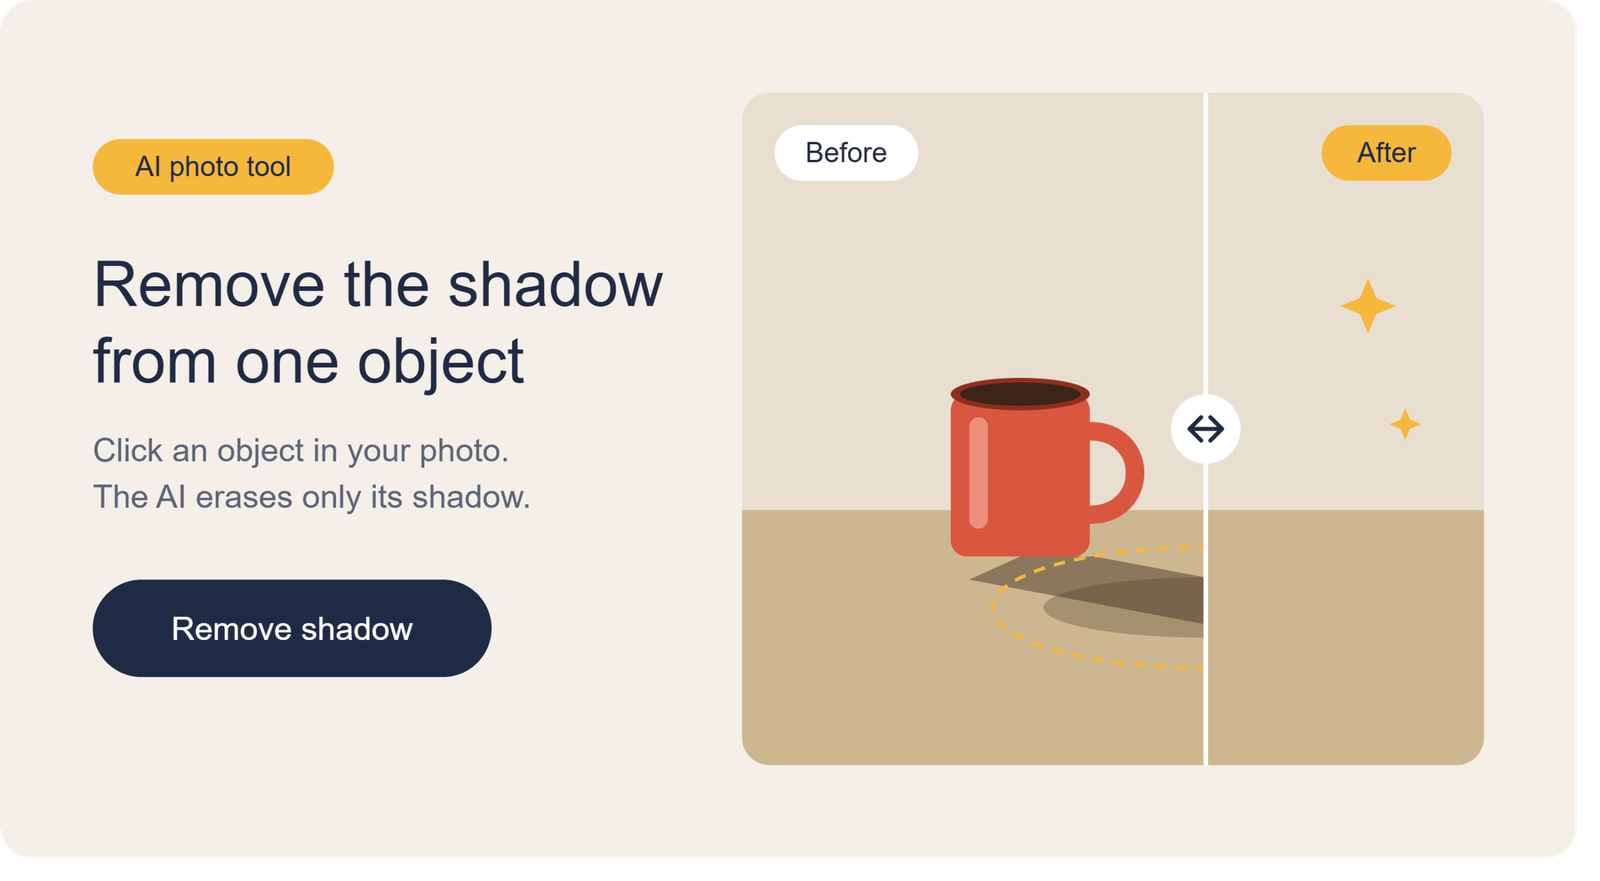
Shadows can add depth and realism to photographs, but sometimes they distract from the main subject. A strong shadow beneath a product, a dark area across an object, or unwanted shading on a single item can make an otherwise excellent photo look less professional.
If you want to remove a shadow from one object in a photo, you do not necessarily need advanced photo editing skills. Modern AI photo editing tools and traditional editing software can help you reduce or eliminate unwanted shadows while keeping the rest of the image unchanged.
The key is to edit only the affected object instead of brightening the entire photograph. This approach is especially useful for product photography, e-commerce listings, social media images, and professional marketing materials.
In this guide, you will learn how to remove shadows from individual objects, which methods work best, and how to achieve natural-looking results.
Why Remove a Shadow From One Object in a Photo?
Not every shadow needs to be removed. Natural shadows can make an image appear three-dimensional and realistic. However, certain shadows interfere with the appearance of an object or reduce its visual clarity.
Here are some common situations where selective shadow removal can improve a photograph.
Product Photography
Shadows can make products appear darker than they actually are. For example, a shadow beneath a bottle, shoe, electronic device, or cosmetic product may distract customers from the product itself.
Removing an unwanted shadow can create a cleaner appearance for online stores and product catalogs.
E-Commerce Images
Online shoppers rely heavily on product photographs when making purchasing decisions. If an object has uneven lighting or a distracting shadow, its details may become difficult to see.
Selective shadow removal can make product images more consistent across a website without changing the background or surrounding objects.
Personal and Social Media Photos
Sometimes, a shadow falls across a bag, accessory, decorative item, or another object in a personal photograph. Removing that shadow can improve the image while preserving its original composition.
Marketing and Promotional Graphics
Businesses frequently reuse photographs in advertisements, banners, brochures, and social media campaigns. Removing distracting shadows from individual objects helps create cleaner visual assets.
How to Remove Shadow From One Object in a Photo Using AI
AI-powered photo editing is one of the simplest approaches for beginners. Depending on the tool, you may be able to select an object, brush over its shadow, and let the software adjust the affected area.
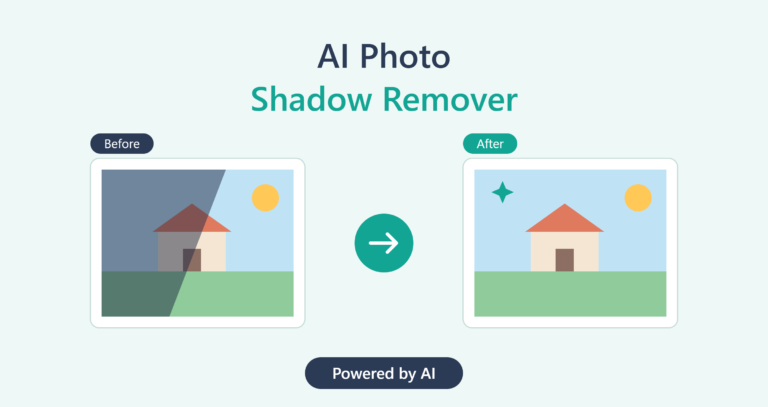
Follow these steps to get started.AI Photo Shadow Remover
Step 1: Upload Your Photo
Choose a clear image containing the object you want to edit. A high-resolution photograph generally provides better results because the object’s edges and surface details are easier to identify.
Common supported formats include JPG, JPEG, and PNG, although the available formats depend on the editing tool.
Step 2: Select the Object or Shadow Area
Look for a feature such as object selection, brush selection, masking, or AI inpainting.
Carefully mark the shadow you want to remove. Avoid selecting unrelated areas of the photograph, especially when the object is close to other items.
For example, if a shadow covers one side of a white product box, select the shaded portion rather than the entire scene.
Step 3: Apply Shadow Removal
Use the tool’s shadow-removal, relighting, or object-retouching feature if available. Some AI editors allow text instructions describing the desired result.
A useful editing instruction might be:
“Remove the unwanted shadow from the selected object. Restore natural brightness and realistic surface texture while preserving the object’s shape, colors, edges, and original background.”
AI results vary depending on the image, the tool, and the complexity of the shadow.
Step 4: Review the Edited Area
Examine the object’s edges, texture, colors, and surrounding pixels. Check whether the software has introduced blurry patches, artificial highlights, or uneven brightness.
If the result looks unnatural, reduce the strength of the correction or edit a smaller area.
Step 5: Download the Final Image
Once the result looks natural, export the image in a suitable format. PNG may be useful when you need to preserve image quality or transparency, while JPEG is commonly used for photographs and online product listings.
Keep a copy of the original image so you can make further adjustments if necessary.
How to Remove a Shadow From One Object Without Changing the Background
One of the biggest challenges in shadow removal is protecting the rest of the photograph.
A global brightness adjustment may lighten the shadow, but it can also wash out the background, brighten other objects, and reduce contrast throughout the image.
Selective editing is a better option.
Use a Mask
A mask identifies the areas where an adjustment should apply. By masking only the shadow, you can brighten the affected region while leaving the remaining pixels largely untouched.
This technique works particularly well for product images with plain backgrounds.
Adjust Shadows and Highlights
Many photo editors include controls for shadows, highlights, exposure, and contrast. Use these settings carefully on the selected region.
Increasing shadow brightness can reveal hidden details without making the entire object appear overexposed.
Blend the Edited Area
The transition between the corrected region and the surrounding surface should look natural. A soft brush or feathered mask can help prevent visible boundaries.
Avoid removing every trace of shading if doing so makes the object appear flat or disconnected from its environment.
Manual Methods for More Accurate Results
AI editing is convenient, but manual techniques may provide better control over difficult images.
Using Photoshop
Adobe Photoshop offers tools such as adjustment layers, masks, the Clone Stamp tool, and the Healing Brush. These features can help you reduce unwanted shadows while preserving surface details.
For a simple shadow, create a selection around the affected area and apply a Curves or Levels adjustment. Refine the mask to prevent changes from spreading beyond the intended region.
For shadows with complex textures, use retouching tools carefully to repair small imperfections.
Using GIMP
GIMP is an alternative for users who prefer free desktop photo editing software. Its selection tools, layer masks, and color adjustments can help brighten a specific shadowed area.
Duplicate the original layer before making changes. This allows you to compare the edited image with the original and reverse unwanted adjustments.
Using Mobile Photo Editors
Mobile photo editors may offer selective brightness, healing, object erasing, or AI retouching features.
These tools can be sufficient for simple photographs intended for social media or online listings. However, precise masking may be more difficult on a small screen.
Common Problems When Removing Shadows
Removing a shadow is not always as simple as making a dark area brighter. Different surfaces and lighting conditions require different editing approaches.
The Object Looks Flat
Shadows communicate depth and shape. Removing all shading may make an object appear artificial.
Solution: Preserve natural contours and subtle tonal differences. Focus on eliminating distracting darkness rather than removing every variation in light.
The Edited Area Looks Blurry
Some AI tools reconstruct details instead of simply adjusting brightness. This can soften textures or create artificial patterns.
Solution: Use smaller selections, lower the correction strength, and compare the result with the original photograph.
The Background Changes Unexpectedly
Automatic editing tools may alter nearby pixels, particularly when the shadow overlaps the background or another object.
Solution: Use a precise mask and inspect the image at a higher zoom level before exporting it.
The Object’s Color Looks Different
Brightening a shadowed area can change the perceived color of the object, especially on reflective or colored surfaces.
Solution: Adjust exposure and shadows gradually, then check color consistency across the object.
Best Practices for Professional Shadow Removal
For consistent, natural-looking results, follow these practical recommendations.
- Start with a high-quality image: Clear details make selective editing easier.
- Work on a duplicate layer: Preserve the original photograph for comparison and recovery.
- Select only the affected area: Avoid unnecessary changes to the background and nearby objects.
- Make gradual adjustments: Small corrections often look more realistic than aggressive brightening.
- Preserve natural texture: Keep material details visible on fabric, plastic, glass, metal, and other surfaces.
- Check the edges: Look for halos, bright outlines, and abrupt changes in color.
- Review at different zoom levels: An edit may look good when enlarged but unnatural at normal viewing size.
- Export at the appropriate quality: Avoid excessive compression when preparing professional product photographs.
These practices are particularly important for businesses that need consistent images across hundreds of products.
Who Can Benefit From Single-Object Shadow Removal?
The ability to remove a shadow from one object in a photo is useful for several types of users.
E-commerce sellers can improve product photographs without reshooting every item.
Photographers can correct lighting imperfections during post-production.
Graphic designers can prepare cleaner visual assets for advertisements and promotional materials.
Content creators can refine photographs for blogs, social media posts, and online portfolios.
Small business owners can improve their visual presentation without investing in expensive photography equipment for every product.
The best method depends on the image’s complexity, the required level of precision, and whether you prefer automated editing or manual control.
Frequently Asked Questions
Can I remove a shadow from just one object in a photo?
Yes. Selective editing tools and layer masks allow you to target a specific object or shadow while keeping the rest of the photograph unchanged. The accuracy depends on the selection and editing method.
Can AI remove shadows without damaging image quality?
AI can often reduce unwanted shadows while preserving important details. However, results are not guaranteed to be perfect. Complex textures, reflective surfaces, and overlapping objects may require manual refinement.
Is it possible to remove shadows from product photos for free?
Yes. Free editing software, including GIMP, provides manual tools for selective shadow correction. Some online and mobile editors also offer free features, although their limits and export options vary.
Should I remove every shadow from a product image?
Not necessarily. A subtle natural shadow can help communicate depth and make a product look realistic. Remove distracting shadows while retaining enough shading to preserve the object’s shape.
What is the best format for saving an edited photograph?
JPEG is suitable for most standard photographs and online product listings. PNG is useful when you need lossless image storage or transparency. Choose the format according to your intended use.
Conclusion
Learning how to remove a shadow from one object in a photo can significantly improve the quality of product images, personal photographs, and marketing visuals. The most effective approach is to target the affected area, correct its lighting gradually, and preserve the object’s natural texture and shape.
AI photo editing tools offer a convenient starting point, while manual techniques provide greater precision when automatic corrections are not sufficient.
For the best results, avoid brightening the entire photograph unnecessarily. Use selective adjustments, inspect the edited edges, and preserve realistic lighting wherever possible.
With a careful editing process, you can create cleaner, more professional photographs without changing the original composition or distracting from the object itself.