Creating a website or mobile app design from scratch can take hours, especially when you need to recreate an existing interface. Designers often use screenshots as visual references, but manually rebuilding every button, text element, image, and layout can be a time-consuming process.
A free screenshot to Figma converter offers a practical way to speed up this work. Instead of treating a screenshot as a flat image, these tools aim to recreate its visual structure inside Figma, allowing designers to edit individual elements and refine the interface.
Whether you are a UI/UX designer, developer, student, or startup founder, converting screenshots into editable designs can simplify your workflow. However, the results depend on the quality of the screenshot, the capabilities of the conversion tool, and the complexity of the original interface.
In this guide, you will learn how screenshot-to-Figma conversion works, which features to look for, how to use these tools effectively, and how to achieve better design results without spending money.
What Is a Free Screenshot to Figma Converter?
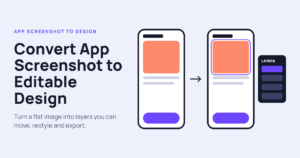
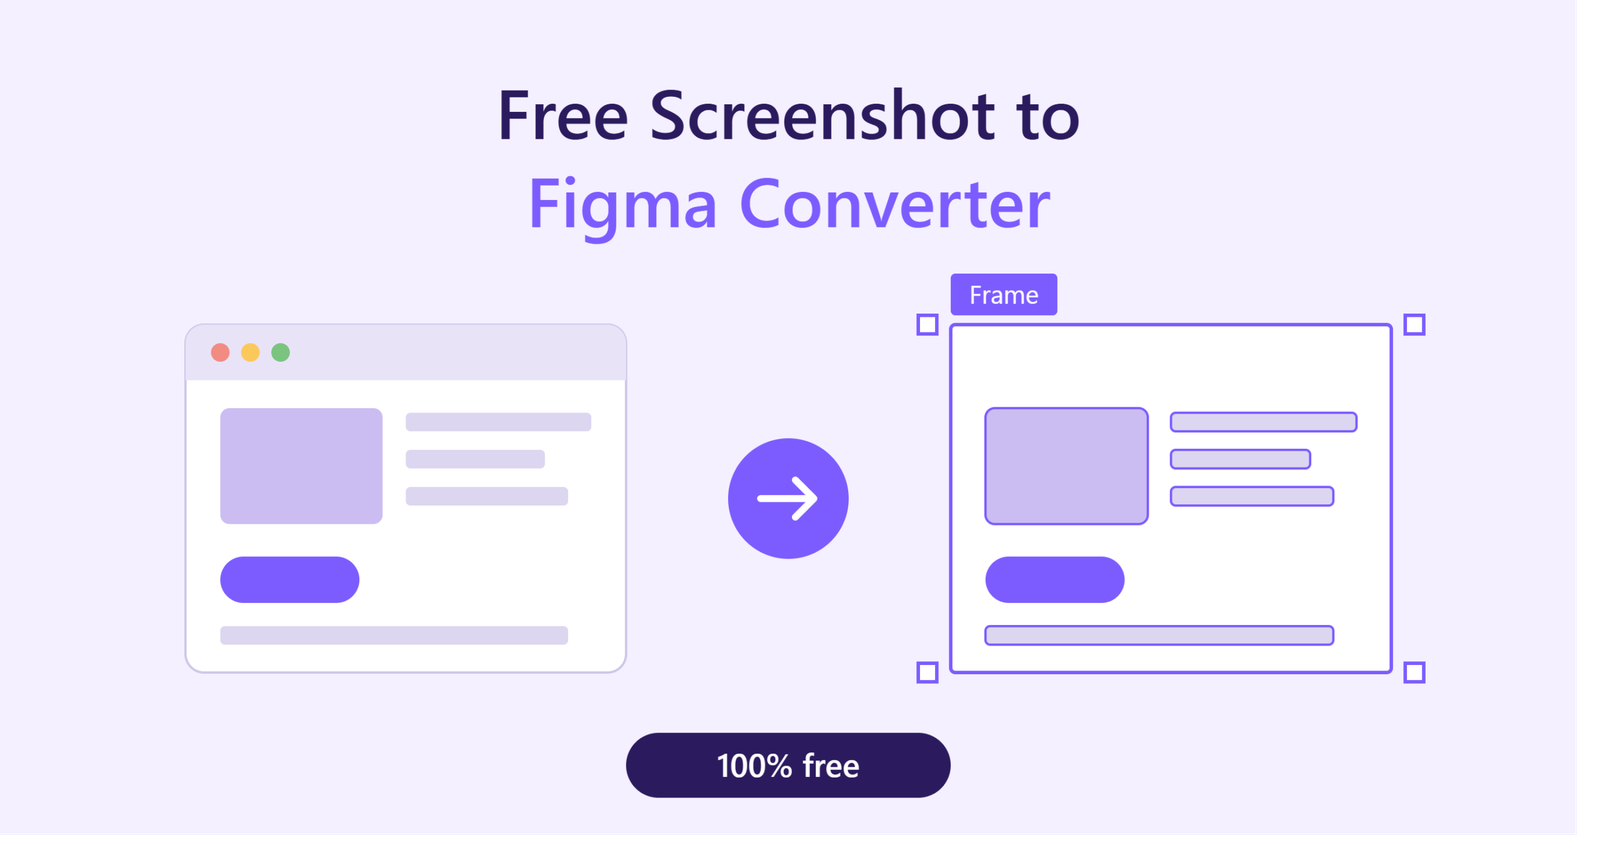
A free screenshot to Figma converter is a tool or workflow that transforms a screenshot of a website, mobile application, or user interface into a design that can be edited in Figma.
A standard screenshot is a single flattened image. You can resize or crop it, but you cannot independently edit the text, buttons, cards, or other interface elements inside it.
A screenshot conversion tool attempts to identify these elements and reconstruct them as separate design objects.
For example, if you upload a screenshot of an e-commerce homepage, the tool may identify:
- Navigation bars and menus
- Headings and paragraphs
- Product cards and images
- Buttons and search fields
- Background colors and sections
- Spacing, alignment, and layout structures
The resulting design can then be opened or recreated in Figma for further editing.
Important: AI Screenshot to Figma Converter Not every converter produces fully editable layers. Some tools generate separate objects, while others create a partially editable layout that requires manual correction.
How Does Screenshot to Figma Conversion Work?
Most modern screenshot conversion workflows combine image analysis, optical character recognition (OCR), layout detection, and design reconstruction.
1. Uploading the Screenshot
The process begins with an image of a website or app interface. Common formats include PNG and JPEG.
For better results, use a clear screenshot with readable text, sharp images, and minimal compression. A full-page screenshot can be useful for understanding a complete website, while a viewport screenshot may work better for detailed interface reconstruction.
2. Detecting UI Elements
The conversion tool analyzes the image to identify visual components.
It may recognize text blocks, buttons, images, containers, navigation menus, and other interface elements. More advanced tools use AI to estimate how these components relate to one another.
3. Reconstructing the Layout
After detecting the elements, the tool attempts to reproduce their positions, dimensions, spacing, and visual styles.
This stage is important because a design is more than a collection of objects. The relationships between elements determine whether the interface looks balanced and consistent.
4. Importing the Design into Figma
Depending on the tool, the reconstructed interface may be transferred through a Figma plugin, an importable design file, or another supported method.
Once the design is available in Figma, you can inspect its layers, adjust typography, replace images, modify colors, and refine the layout.
Key Features to Look for in a Free Screenshot to Figma Converter
Not all screenshot-to-design tools offer the same capabilities. Before choosing one, evaluate the features that matter most to your workflow.
Editable Layers
Editable layers are one of the most important requirements. You should be able to select individual components instead of editing the entire interface as one image.
Look for tools that reconstruct text, shapes, buttons, and containers as separate objects.
Accurate Text Recognition
Text recognition helps convert visible headings, labels, navigation items, and paragraphs into editable text layers.
However, unusual fonts, small text, shadows, and low-resolution screenshots can reduce accuracy. Always check the generated text for missing words, incorrect characters, and line-break differences.
Layout and Spacing Preservation
A good converter should reproduce the general structure of the original interface, including margins, padding, alignment, and component dimensions.
Perfect pixel matching is not guaranteed, but a close initial layout can reduce the amount of manual work required.
Image and Icon Handling
Images and icons are essential parts of most interfaces. A useful converter should preserve recognizable image assets where possible and allow you to replace inaccurate or missing elements.
Some tools may recreate icons as basic shapes or substitute approximate graphics. Inspect these elements before using the result in a production design.
Figma Compatibility
Check how the tool transfers designs into Figma. Some workflows use plugins, while others support file exports or copy-and-paste methods.
Also review any limitations related to free usage, export formats, file sizes, and the number of conversions available.
How to Convert a Screenshot to Figma for Free
You can follow these steps to turn a website or app screenshot into an editable design.
Step 1: Capture a High-Quality Screenshot
Start with a screenshot of the interface you want to recreate.
If you are working with a website, capture the relevant browser viewport or use a full-page capture when the entire page structure is necessary.
Remove unnecessary browser elements when possible, and make sure the interface is readable.
Step 2: Choose a Free Conversion Tool
Search for a screenshot-to-Figma converter that supports your preferred workflow.
Before uploading your image, check whether the free plan includes editable layers, Figma integration, and sufficient export functionality. A tool advertised as free may provide only a limited trial or restrict important features.
Step 3: Upload and Process the Image
Upload your screenshot and start the conversion process.
Depending on the tool, processing may take a few seconds or longer. The system will attempt to identify interface elements and generate a corresponding design structure.
Step 4: Transfer the Result to Figma
Follow the tool’s instructions to import the generated design into Figma.
If direct integration is unavailable, check whether the converter provides a compatible export format. Avoid assuming that an ordinary PNG or JPEG export contains editable design layers.
Step 5: Review the Generated Layers
Open the imported design and inspect its layer structure.
Check whether headings are editable, buttons are separate objects, images can be replaced, and layout elements are arranged logically.
If the entire screenshot appears as one image, the conversion has not produced the editable structure you need.
Step 6: Refine the Design
Correct spacing, typography, colors, and alignment. Replace inaccurate icons and images, and reorganize poorly named or nested layers.
You can also introduce reusable components and Auto Layout in Figma to make the design easier to maintain.
The final result should be treated as a starting point rather than a guaranteed pixel-perfect replica.
Benefits of Using a Free Screenshot to Figma Converter
Saves Design Time
Rebuilding every interface element manually can be slow. Automated conversion may provide an initial layout that requires less effort than starting with a blank canvas.
This is particularly useful for landing pages, dashboards, mobile app screens, and simple website layouts.
Makes Existing Designs Easier to Edit
An editable reconstruction allows you to change text, colors, button sizes, and component placement without recreating the entire interface.
This flexibility is useful when working with design references, legacy interfaces, or existing product screens.
Supports Faster Prototyping
Designers can use converted interfaces to explore alternative layouts and test new ideas.
For example, a startup founder could recreate a reference landing page and experiment with different calls to action, content sections, and navigation patterns.
Helps Developers Understand UI Structure
Developers can use reconstructed designs to examine component dimensions, visual hierarchy, and spacing.
Although a Figma design does not automatically reproduce the original website’s source code, it can serve as a useful reference during front-end implementation.
Reduces Initial Design Costs
Free conversion options can be useful for students, freelancers, independent developers, and small businesses with limited budgets.
However, the actual savings depend on the time required to correct conversion errors and the limits of the free plan.
Common Challenges and Limitations
Despite its benefits, screenshot-to-Figma conversion is not always accurate.
Complex Layouts Can Be Difficult to Reconstruct
Overlapping elements, intricate dashboards, responsive layouts, and complicated grids can confuse automated detection systems.
You may need to reposition components and rebuild some sections manually.
Fonts and Spacing May Differ
The converter might not identify the original font family, font weight, letter spacing, or line height.
These differences can change the appearance of the final design, even when the overall layout is similar.
Images May Not Become Original Assets
A screenshot contains visible pixels rather than the original image files. A converter may preserve cropped visuals or approximate image regions, but it cannot always recover the exact source assets from the screenshot alone.
Whenever possible, use the original image files.
Free Plans May Have Restrictions
Some services limit the number of conversions, export options, image resolution, or available features.
Review the current plan details before committing to a particular workflow.
Best Practices for Better Conversion Results
To get more value from a free screenshot to Figma converter, follow these practical recommendations.
- Use high-resolution images: Clear screenshots improve the chances of accurate text and element detection.
- Avoid unnecessary compression: Blurry text and distorted edges can lead to reconstruction errors.
- Convert complicated screens in sections: Breaking a large interface into smaller regions can make it easier to review and refine.
- Check the layer hierarchy: Organized layers make future editing faster.
- Use Auto Layout where appropriate: Rebuild important components with responsive behavior instead of relying entirely on fixed positions.
- Verify typography manually: Compare fonts, sizes, weights, and line spacing with the reference.
- Review responsive behavior: A screenshot shows only one particular layout state. It does not reveal how the original interface behaves on every screen size.
- Respect intellectual property: Use screenshots you own or have permission to reproduce, especially for commercial projects.
These steps help transform an automated draft into a more reliable and maintainable design.
Who Should Use a Screenshot to Figma Converter?
A free screenshot to Figma converter can benefit several types of users.
UI/UX designers can use it to explore reference interfaces and speed up early design work.
Web developers can use reconstructed layouts as visual guides when building front-end components.
Students and beginners can learn about spacing, hierarchy, and interface composition by examining editable design examples.
Freelancers and agencies can use conversion tools to prepare initial concepts and reduce repetitive setup work.
Startup founders can quickly explore interface ideas before investing in a complete design process.
The tool is most valuable when it reduces repetitive tasks without replacing the human judgment needed to produce a polished interface.
Frequently Asked Questions
Is there a completely free screenshot to Figma converter?
Some tools offer free conversion features, plugins, or limited usage. However, free access does not always include unlimited conversions or complete editable-layer support. Check the current pricing and export restrictions before choosing a tool.
Can I convert a website screenshot into editable Figma layers?
Yes, certain tools can reconstruct screenshots as editable text, shapes, images, and interface components. The quality varies, and complex screens may require manual adjustments.
Can I convert a mobile app screenshot to Figma?
Yes. Many screenshot conversion workflows can be used for mobile app interfaces, including login screens, dashboards, profile pages, and onboarding screens.
Does converting a screenshot to Figma generate working website code?
Not necessarily. Screenshot conversion generally focuses on visual design reconstruction. Producing functional HTML, CSS, or application code requires a separate code-generation or development workflow.
Is screenshot-to-Figma conversion accurate?
Accuracy depends on image quality, layout complexity, typography, and the conversion technology. Simple interfaces may be easier to reconstruct than dense dashboards or heavily layered designs.
Conclusion
A free screenshot to Figma converter can make UI design faster by turning a static visual reference into a starting point for an editable interface. It can help designers, developers, students, and businesses reduce repetitive work while exploring new design ideas.
The best results come from choosing a tool that supports genuine editable layers, preparing clear screenshots, and carefully reviewing the generated design. Automated conversion can save time, but it cannot guarantee perfect typography, original assets, responsive behavior, or production-ready components.
If your goal is to recreate website or mobile app interfaces efficiently, start with a high-quality screenshot, test a free conversion workflow, and refine the output inside Figma. This approach combines automation with practical design judgment to create cleaner, more useful UI designs.