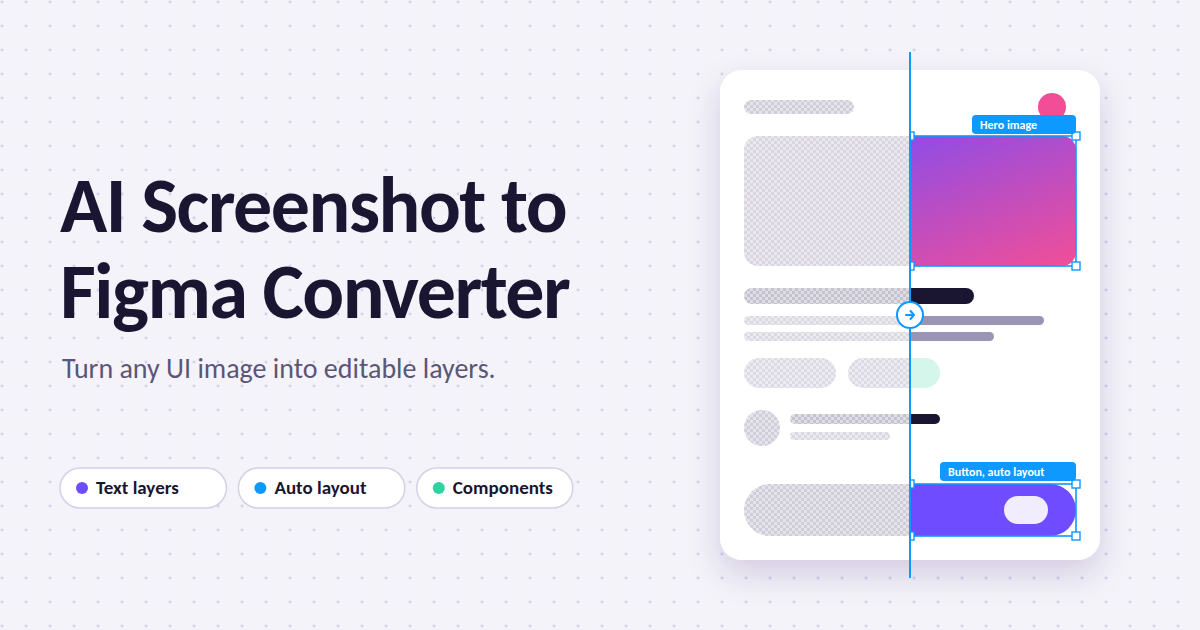
Every designer has been there. You have a screenshot of an old app, a competitor’s checkout flow, or a client’s outdated website, and you need it as an editable file. Redrawing it by hand takes hours, and the result is rarely pixel-perfect.
An AI screenshot to Figma converter promises a shortcut. Upload an image, and the tool rebuilds it as layers, text, and shapes you can edit. This guide explains how that works, what to expect, and how to get the best results.
What Is an AI Screenshot to Figma Converter?
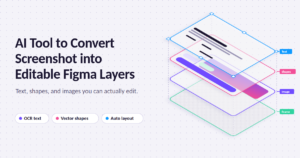
An AI screenshot to Figma converter is a tool that analyzes a flat image of a user interface and recreates it as an editable design. Instead of a single locked picture, you get separate text boxes, buttons, icons, images, and containers.
Most of these tools run as Figma plugins, web apps, or browser extensions. Some produce a rough layout. Others try to apply auto layout, naming conventions, and component structure.
The goal is simple: convert a screenshot to a design file without rebuilding every element by hand.
How the Technology Works Behind the Scenes
Understanding the process helps you judge the output. Most converters combine several techniques.
Computer Vision and Element Detection
The AI first scans the image to find visual boundaries. It identifies rectangles, circles, text regions, icons, and photographs. This step is similar to how object detection works in other image-recognition tasks.
Optical Character Recognition (OCR)
Text is extracted with OCR and placed into real text layers. Better tools also estimate font size, weight, color, and alignment. Exact font matching is harder, so expect to swap typefaces manually.
Layout and Hierarchy Inference
This is where modern tools differ. A basic converter places elements at absolute coordinates. A smarter one groups related items, such as an icon and its label, and applies auto layout so spacing behaves predictably when you resize.
Style Extraction
The AI samples colors, corner radii, shadows, and borders. Some tools turn these into Figma styles or variables, which helps if you want to build a design system later.
Why Designers and Teams Use Screenshot-to-Design Tools
The appeal is practical. These tools solve real problems in everyday workflows.
Faster Redesigns of Existing Products
When a product has no source files, a screenshot is often the only starting point. Converting it gives you a base to iterate on instead of a blank canvas.
Quicker Competitive Analysis
Teams often study how other products structure onboarding, pricing pages, or dashboards. Having those screens as editable frames makes annotation and side-by-side comparison much easier.
Smoother Developer-to-Designer Handoff
Sometimes a developer ships a feature without design files. A converter helps designers document what already exists, so future changes start from an accurate reference.
Rapid Prototyping
If you capture a screen from a live app, you can convert it, tweak a few elements, and build a clickable prototype within minutes. That speed is valuable for stakeholder presentations.
Step-by-Step: Converting a Screenshot into a Figma File
Workflows vary by tool, but the general process looks like this.
1. Capture a Clean, High-Resolution Screenshot
Quality in means quality out. Use a full-resolution capture, ideally at 2x or higher for retina displays. Avoid compression artifacts, overlapping cursors, and browser chrome unless you need them.
2. Upload and Let the AI Analyze
Drop the image into the plugin or web app. Processing usually takes a few seconds to a minute, depending on complexity.
3. Review the Generated Layers
Open the layer panel and check the structure. Look for grouped elements, sensible names, and correctly detected text. Messy layer trees are common at this stage.
4. Clean Up and Refine
Fix misread text, replace fonts, and adjust spacing. Convert repeated elements, like buttons or cards, into components so changes propagate across the file.
5. Apply Auto Layout and Constraints
If the tool did not add auto layout, do it yourself. This turns a static copy into a flexible design that adapts to different content and screen sizes.
What to Look for in a Good Converter
Not every tool is equal. When comparing options, check for these qualities.
- Text accuracy: Does OCR handle multiple languages and small type?
- Layer organization: Are layers grouped logically, or scattered?
- Auto layout support: Does the output respond to resizing?
- Icon and image handling: Are icons vectorized, or left as flat bitmaps?
- Responsive variants: Can the tool handle mobile and desktop screenshots?
- Privacy policy: Where are your uploaded images stored, and for how long?
That last point matters. If you are converting screens from an unreleased product or a client under NDA, read the data policy before uploading anything.
Common Limitations You Should Expect
No honest review of this technology skips the weak spots. Even strong tools make mistakes.
Complex visuals confuse detection. Gradients, overlapping elements, glassmorphism effects, and busy photographs can produce messy results.
Fonts rarely match exactly. The AI can guess a similar typeface, but identifying a custom font from pixels is unreliable.
Hidden states are invisible. A screenshot shows one moment. Hover states, dropdown menus, and error messages are missing unless you capture each separately.
Structure is inferred, not known. The tool guesses how a designer would have built the screen. Its guess may differ from the original intent.
Treat the output as a strong first draft, not a finished file.
Tips for Getting Cleaner Results
A few habits can noticeably improve what you get back.
- Crop the screenshot to the exact frame you need.
- Capture light and dark modes separately.
- Use screenshots without overlays, tooltips, or cookie banners.
- Convert one screen at a time instead of long scrolling pages.
- Rename and organize layers right after import, before the file grows.
Small preparation steps save significant cleanup time later.
Ethical and Legal Considerations
Converting a screenshot is technically easy, but that does not make every use appropriate. Copying another company’s interface and passing it off as original work can raise copyright and trade dress concerns.
Use converted designs for learning, analysis, internal reference, or rebuilding your own products. If you are drawing inspiration from a competitor, take the structure and principles, not the exact visuals. When in doubt, consult your legal team.
Who Benefits Most from These Tools?
Different roles gain different advantages.
UI/UX designers use them to recover lost source files and speed up redesigns.
Product managers turn screenshots into annotated flows for discussion.
Front-end developers create quick mockups to communicate ideas without opening a design tool from scratch.
Agencies and freelancers rebuild client assets faster, especially when files were never handed over.
Students and beginners study real interfaces by dissecting how they are constructed layer by layer.
The Future of Screenshot-to-Figma Conversion
This category is improving quickly. As vision models get better at understanding layout intent, expect more accurate component detection, automatic design token extraction, and even code-aware output that links design layers to front-end structure.
The long-term direction is a smoother loop between image, design, and code. Today’s converters are an early step, but they already remove a lot of tedious work.
Final Thoughts
An AI screenshot to Figma converter will not replace a skilled designer, and it should not. What it does well is eliminate repetitive reconstruction, so you can spend your time on decisions that matter: usability, hierarchy, and polish.
Start with clean screenshots, review the output critically, and fix structure early. Used that way, these tools can turn a flat image into a workable design file in minutes instead of hours.

7 thoughts on “AI Screenshot to Figma Converter: How to Turn Any Interface Image into an Editable Design”