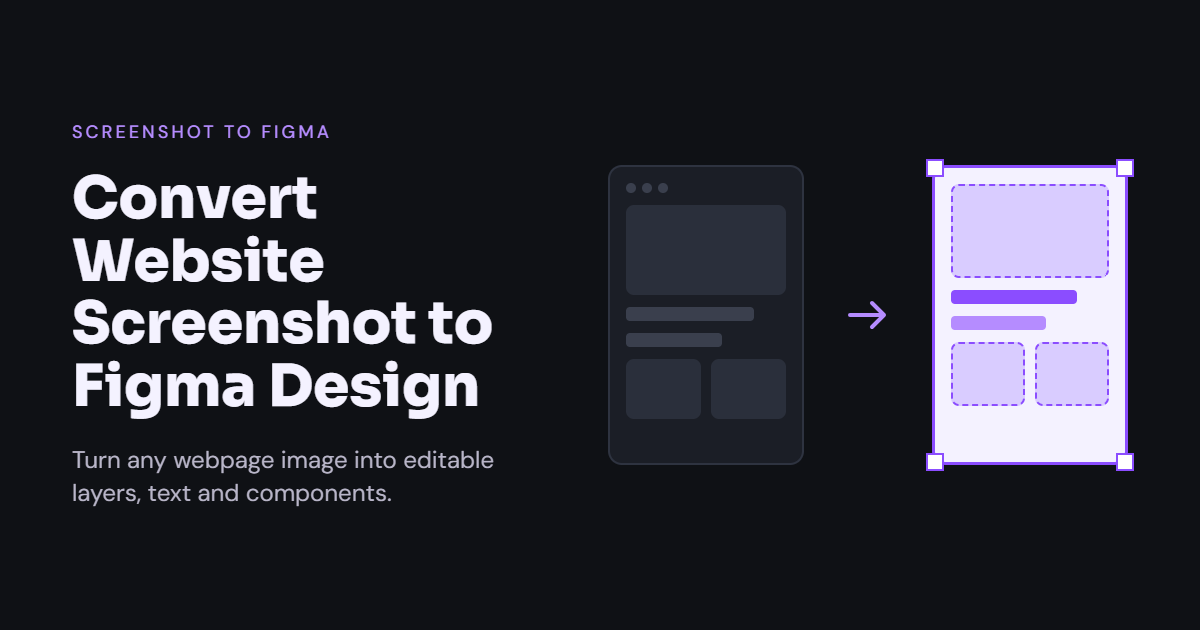
Turning a website screenshot into an editable Figma design is an effective way to recreate website layouts, improve user interfaces, and speed up the web design process. Instead of building every element from scratch, designers can use screenshots as visual references to develop editable frames, components, and reusable design systems.
Whether you are a beginner, UI/UX designer, developer, or business owner, learning how to convert a website screenshot to Figma design can help you transform visual inspiration into a practical design project.
In this guide, you will learn the available methods, essential tools, common challenges, and best practices for creating accurate Figma layouts from website screenshots.
What Does It Mean to Convert a Website Screenshot to Figma Design?
Converting a website screenshot to Figma design means recreating a website’s visible interface inside Figma, a popular collaborative design tool. The screenshot provides a visual reference, while Figma allows you to rebuild the layout using editable elements.
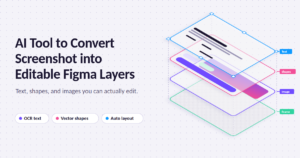
These elements may include headings, buttons, navigation menus, images, cards, icons, and background sections.AI Screenshot to Figma Converter
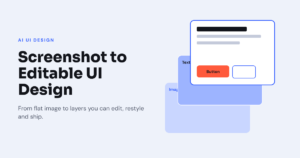
A screenshot is a flat image, so its individual elements cannot be edited independently. The goal is to recreate those elements as separate design objects that can be modified, resized, and reused.
This approach is useful for website redesigns, landing page development, competitor analysis, and rapid UI prototyping.
Why Convert Website Screenshots into Editable Figma Designs?
There are several reasons designers use screenshots as the starting point for their projects.
1. Save Time During Design
Recreating a familiar layout from a screenshot can be faster than designing an entirely new interface. Designers can use the existing structure as a reference and focus on improving spacing, typography, colors, and usability.
2. Create Editable UI Components
Figma makes it possible to separate a page into individual components. You can edit buttons, change text, replace images, and adjust layouts without modifying the entire screenshot.
3. Improve Website Redesign Workflows
Screenshots help designers understand the structure of an existing website. They can recreate important sections, test alternative layouts, and present redesign concepts before development begins.
4. Build Responsive Layouts
Once the design is recreated in Figma, designers can use Auto Layout, constraints, and responsive frames to prepare layouts for desktop, tablet, and mobile screens.
How to Convert a Website Screenshot to Figma Design
There are several ways to turn a screenshot into an editable design. The best method depends on your available tools, budget, and required level of accuracy.
Step 1: Capture a High-Quality Website Screenshot
Start by capturing a clear screenshot of the website you want to recreate. Use the appropriate browser zoom level and ensure that the page is displayed correctly.
For a complete landing page, you may need multiple screenshots if the website contains several sections below the fold.
Choose a screenshot with readable text, visible spacing, and clear images. Higher-quality references make it easier to identify individual interface elements.
Step 2: Import the Screenshot into Figma
Open Figma and create a new design file. You can drag the screenshot directly onto the canvas or use the image import option.
Create a frame that matches the screenshot’s dimensions. For example, a desktop website might use a frame approximately 1440 pixels wide, depending on the original viewport.
Place the screenshot inside the frame and lock it. This keeps the reference image in position while you recreate the design.
Step 3: Recreate the Website Layout
Create separate layers for the website’s main elements. Start with the navigation bar, hero section, headings, buttons, content cards, and footer.
Use rectangles for backgrounds, text layers for headings and paragraphs, and image layers for photographs or illustrations.
Pay attention to alignment, margins, padding, and the distance between elements. Accurate spacing often makes a greater difference than copying every decorative detail.
Step 4: Use AI Tools and Screenshot-to-Design Plugins
AI-powered design tools can help convert website screenshots into editable layouts. Depending on the tool, they may recognize text, images, buttons, and other interface elements automatically.
Some tools generate a Figma-compatible design, while others produce a web layout or code that requires additional conversion.
Before choosing a tool, check whether it supports editable layers, text recognition, image extraction, and export to Figma. Automatic conversion can save time, but complex websites usually require manual corrections.
Step 5: Refine Typography, Colors, and Spacing
After creating the basic structure, compare your Figma design with the original screenshot.
Adjust font sizes, font weights, line heights, background colors, border radii, and button dimensions. Replace placeholder images with appropriate assets where permitted.
Use consistent spacing values and text styles to make the design more professional. Figma’s reusable styles and components can help maintain consistency throughout the page.
Step 6: Make the Design Responsive
A desktop screenshot does not automatically provide a responsive design. You must decide how the layout should behave at different screen sizes.
Use Auto Layout to manage spacing and alignment. Apply appropriate constraints and create separate frames for mobile and tablet layouts when necessary.
For example, a three-column card section may need to become a single-column layout on mobile devices.
Step 7: Test and Finalize the Design
Review the final design against the screenshot. Check the positioning of elements, text readability, image proportions, and consistency between sections.
Rename important layers, organize related elements into groups, and create components for repeated interface patterns.
A clean Figma file is easier to maintain and share with developers or other designers.
Best Practices for Accurate Screenshot-to-Figma Conversion
Follow these practical tips to improve your results:
- Use clear screenshots: Sharp images make text and layout details easier to identify.
- Work from large sections to small details: Build the overall structure before refining icons and decorative elements.
- Use reusable components: Buttons, cards, and navigation elements should follow consistent styles.
- Avoid relying entirely on AI: Automated tools may misinterpret complex layouts or produce inaccurate text.
- Check responsive behavior: Recreate the intended mobile experience rather than simply shrinking the desktop design.
- Organize layers properly: Meaningful layer names improve collaboration and future editing.
Also, make sure you have permission to reproduce website assets and designs when working on commercial projects.
Common Challenges When Converting Screenshots to Figma
One common problem is inaccurate text recognition. Small fonts, unusual typography, and low-resolution images can make automatic conversion unreliable.
Another challenge is recreating the original spacing. Screenshots show the final appearance but do not reveal the exact margins, grid settings, or responsive rules used by the original website.
Images and icons may also require manual replacement. Even when a tool recognizes an element, it may not identify the original source asset.
The most effective workflow combines automation with careful manual refinement.
Conclusion
Learning to convert a website screenshot to Figma design can make website redesign, UI recreation, and prototyping more efficient. By importing a screenshot, rebuilding the layout with editable layers, using AI-assisted tools where appropriate, and refining the result manually, you can create a professional design that is easier to customize and develop.
The key is to treat the screenshot as a reference rather than a finished design file. A successful conversion should preserve the important visual structure while providing clean layers, reusable components, and responsive layouts.
With consistent practice, screenshot-to-Figma conversion can become a valuable part of your modern web design workflow.

One thought on “Convert Website Screenshot to Figma Design: A Complete Guide”