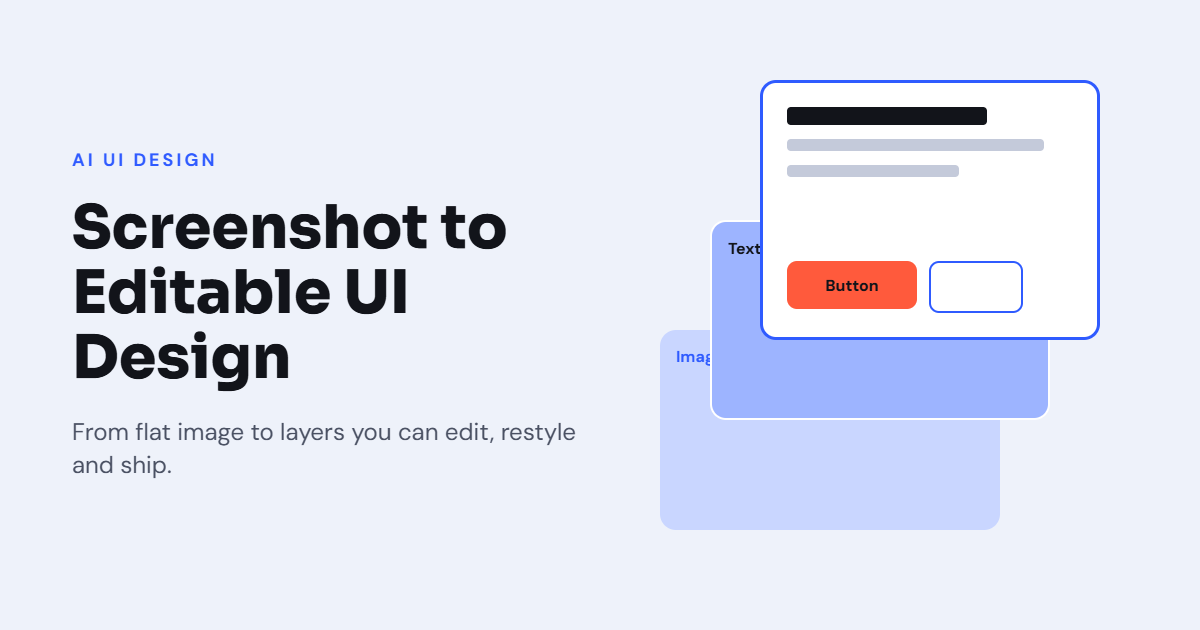
Creating a modern user interface from scratch can take considerable time, especially when you need to match an existing website or mobile application. A screenshot provides a useful visual reference, but it does not allow you to edit individual elements such as buttons, headings, images, and navigation menus.
This is where screenshot to editable UI design tools become valuable. They help designers transform static images into editable interface layouts that can be customized, improved, and prepared for development.
Whether you are a beginner, UI/UX designer, developer, or startup founder, converting screenshots into editable designs can simplify your workflow. With the right tools and techniques, you can recreate interfaces more efficiently without rebuilding every element manually.
What Is Screenshot to Editable UI Design?
Screenshot to editable UI design refers to the process of transforming a screenshot of a website, mobile application, dashboard, or landing page into a design containing separate, editable elements.
Instead of working with a single flat image, you can recreate the interface using text layers, image assets, buttons, shapes, containers, and other UI components.
For example, a screenshot of an online store might contain a navigation bar, product cards, prices, search fields, and promotional banners. An editable design allows you to modify each component independently.
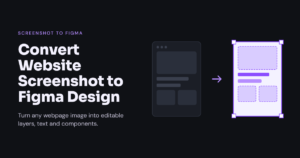
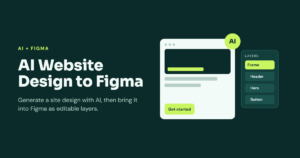
Design tools such as Figma make this process easier by providing reusable components, layout controls, and collaboration features.AI Screenshot to Figma Converter
Why Convert Screenshots into Editable UI Designs?
Converting screenshots into editable layouts offers several advantages for modern design projects.
1. Save Time and Reduce Manual Work
Rebuilding an interface from scratch requires time for layout planning, element positioning, and styling.
AI-powered tools can further reduce repetitive work by identifying interface elements and generating initial layouts.
2. Make Design Changes Easily
A static screenshot cannot be edited like a native design file. Editable UI designs allow you to change text, replace images, adjust colors, and resize buttons without modifying the entire interface.
This flexibility is especially useful when creating alternative designs for clients or testing different visual styles.
3. Improve UI/UX Prototyping
Designers can use recreated interfaces to explore improvements in navigation, readability, accessibility, and user experience.
For example, you can reorganize a complicated dashboard, simplify a registration form, or create a cleaner mobile layout while using the original screenshot as a reference.
4. Support Design and Development Teams
Editable UI files help designers communicate their ideas to developers. Organized layers, reusable components, and consistent spacing provide a clearer starting point for implementation.
However, a recreated design does not automatically include the original website’s functionality or source code.
How to Convert a Screenshot into an Editable UI Design
Follow these steps to transform a screenshot into a practical design file.
Step 1: Capture a Clear Screenshot
Start by capturing the interface you want to recreate. This could be a website homepage, mobile application screen, SaaS dashboard, or product page.
Use a high-resolution screenshot with clearly visible text and interface elements. If the page is long, capture each important section separately.
Record the original viewport dimensions when possible. This information helps you establish an appropriately sized design frame.
Step 2: Choose the Right UI Design Tool
Select a tool that supports your intended output. Figma is a popular option for creating editable interface designs, while AI-assisted screenshot conversion tools may help automate parts of the process.
Before choosing a solution, check whether it supports editable text, separate image layers, reusable components, and export to your preferred design format.
Some tools generate HTML or CSS instead of native design layers, so verify the output before starting.
Step 3: Import the Screenshot
Create a new design file and place the screenshot on the canvas. Set up a frame that matches the screenshot’s dimensions and position the image inside it.
Lock the reference image to prevent accidental movement while rebuilding the interface.
You can then use the screenshot as a guide for measuring spacing, aligning elements, and matching the overall composition.
Step 4: Recreate Individual UI Elements
Build the interface using separate layers instead of keeping the screenshot as the final design.
Create text layers for headings and paragraphs, shapes for buttons and backgrounds, and image layers for photographs or illustrations.
Recreate navigation bars, cards, forms, and other repeated elements as reusable components. This approach makes the design easier to update and maintain.
Step 5: Use AI for Faster Conversion
AI-powered screenshot-to-UI tools can analyze visual layouts and help generate editable interface structures. Depending on the solution, they may recognize text, identify common components, or suggest layout arrangements.
AI conversion is particularly useful for simple landing pages, login screens, and standard dashboard layouts.
However, the results are not always accurate. You may need to correct text recognition, adjust spacing, replace missing assets, and rebuild complex elements manually.
Step 6: Refine the Design
Once the main structure is ready, improve typography, colors, alignment, and spacing.
Use consistent font styles, predictable spacing values, and reusable components throughout the interface.
Avoid focusing only on pixel-level similarity. The interface should also remain readable, organized, and practical to edit.
Step 7: Prepare Responsive Layouts
A screenshot usually represents one specific screen size. To create a responsive interface, consider how the design should adapt to smaller screens.
Use Auto Layout, constraints, and appropriately sized frames to manage resizing and alignment. For mobile interfaces, you may need to rearrange navigation, stack content cards, or simplify complex sections.
Responsive behavior must be designed and tested rather than assumed from the original screenshot.
Best Practices for Editable UI Design
To achieve better results, follow these practical recommendations:
- Start with the overall layout: Recreate major sections before working on minor details.
- Keep layers organized: Use descriptive names for text, images, buttons, and containers.
- Use reusable components: Maintain consistent styles for repeated interface elements.
- Verify AI-generated output: Check text accuracy, image placement, and spacing manually.
- Consider accessibility: Use readable typography, sufficient contrast, and clear interface labels.
- Respect design ownership: Obtain permission before reproducing protected designs or assets for unauthorized commercial use.
These practices help turn a visual reference into a maintainable design rather than a simple imitation.
Common Challenges and How to Solve Them
One challenge is identifying the exact fonts, colors, and spacing used in the original interface. A screenshot does not reveal its underlying design system, so some values may need to be estimated.
Another issue is inaccurate AI recognition. Complex layouts, overlapping elements, and unusual typography can produce incorrect layers. Review the generated output carefully and replace inaccurate elements where necessary.
Missing images and icons can also affect visual accuracy. Use authorized original assets when available or suitable alternatives when they are not.
Finally, remember that an editable UI design is not automatically a functional application. Interactive behavior, navigation, database connections, and other development features require separate implementation.
Conclusion
Screenshot to editable UI design provides a practical way to transform static interface references into customizable design files. By combining high-quality screenshots, suitable design tools, AI-assisted conversion, and manual refinement, designers can create editable layouts more efficiently.
The most effective approach is to automate repetitive tasks while maintaining control over design quality. Focus on clean layers, reusable components, consistent styling, and responsive behavior to create interfaces that are both visually accurate and ready for further development.
As AI design tools continue to improve, screenshot-based workflows can become an increasingly useful part of modern UI/UX design, website redesign, and rapid prototyping.

3 thoughts on “Screenshot to Editable UI Design: A Complete Guide”