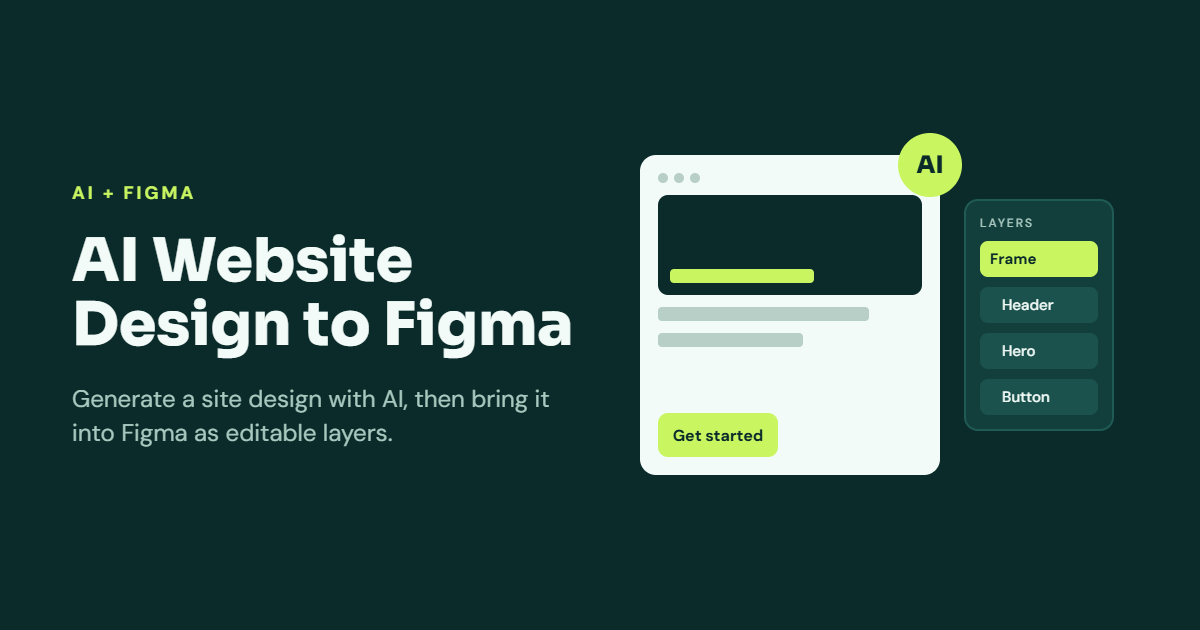
Artificial intelligence is changing how designers create websites, build prototypes, and develop user interfaces. AI website builders can generate complete page layouts from text prompts, while design tools help transform those concepts into editable interfaces. However, moving from an AI-generated website to a flexible design file can still require additional work.
This is where the AI website design to Figma workflow becomes useful. It allows designers to recreate, import, or convert AI-generated website layouts into Figma for further editing, collaboration, and prototyping.
Whether you are a freelance designer, developer, startup founder, or business owner, understanding this process can help you move from an initial AI concept to a polished website design. With the right tools, you can reduce repetitive tasks and spend more time improving the user experience.
What Is AI Website Design to Figma?
AI website design to Figma refers to the process of transferring a website layout generated with artificial intelligence into Figma, where its design elements can be reviewed and edited.
An AI website builder may generate a landing page, portfolio, online store, or SaaS website based on a written description. Depending on the platform, the result may be a live website, a visual mockup, or a collection of interface components.
Figma provides a design environment for refining layouts, managing typography, creating reusable components, and preparing interactive prototypes.
The conversion process depends on the original tool. Some platforms offer direct Figma export, while others require plugins, supported file imports, or manual recreation. A generated website is not automatically a native Figma design.
Why Convert AI-Generated Websites to Figma?
1. Make Website Designs Editable
AI tools can generate attractive layouts quickly, but you may need more control over individual elements. Converting a design into Figma allows you to adjust headings, buttons, images, colors, spacing, and other interface components.
This flexibility is helpful when a client requests revisions or a website concept needs to match an existing brand.AI Screenshot to Figma Converter
2. Improve Design Consistency
Figma supports reusable components, text styles, and design systems. These features help maintain consistent styling across multiple pages.
For example, you can create a standard button component and reuse it throughout an AI-generated website instead of adjusting each button separately.
3. Simplify Team Collaboration
Designers, developers, and stakeholders can review the same Figma file, provide feedback, and discuss changes. This makes it easier to organize revisions before development begins.
4. Prepare Designs for Responsive Development
An AI-generated website may initially focus on desktop screens. Figma allows you to develop additional mobile and tablet layouts, adjust content hierarchy, and plan how interface elements should behave at different screen sizes.
How to Convert AI Website Design to Figma
Step 1: Generate a Website Using an AI Tool
Start by choosing an AI website builder or design generator that matches your project requirements.
Write a clear prompt describing the website type, target audience, visual style, preferred colors, and essential sections.
For example, you might request a modern SaaS landing page with a navigation bar, hero section, pricing cards, customer testimonials, and a footer.
Review the generated result before moving to the next step. Fix major layout problems early to avoid unnecessary redesign work later.
Step 2: Check for Direct Figma Export
Before using workarounds, check whether your AI website platform supports exporting designs to Figma.
A direct export option can preserve more design structure than a screenshot-based workflow, although the quality of the resulting layers varies between tools.
If direct export is unavailable, check whether the platform supports compatible design files, third-party integrations, or a documented workflow for transferring layouts.
Do not assume that every AI website builder can export a fully editable Figma file.
Step 3: Import or Recreate the Website Layout
If your tool provides a compatible export, import it into Figma and inspect the resulting frames, layers, and components.
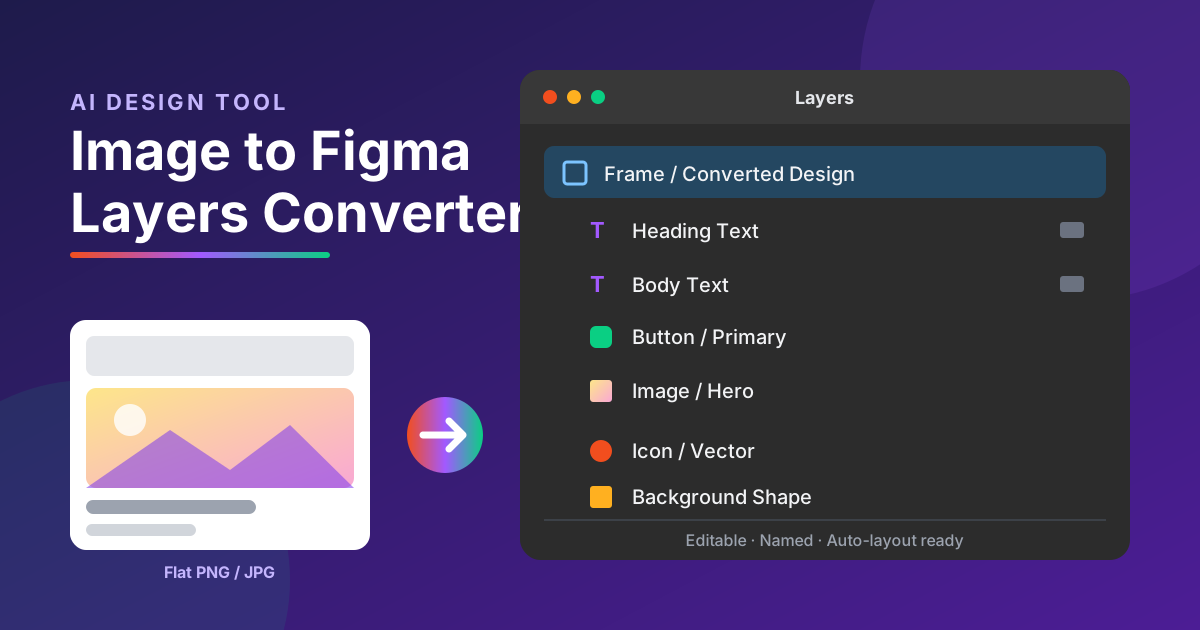
If the only available output is a live website, screenshot, or image, you may need to recreate the layout manually or use a screenshot-to-design tool.
For screenshot-based conversion, capture the important website sections and place them on a Figma canvas as visual references. Then rebuild the main elements using text layers, shapes, images, and reusable components.
This approach requires additional work but provides greater control over the final design structure.
Step 4: Organize Layers and Components
Once the website layout is available in Figma, organize its elements into meaningful groups.
Create separate layers for headings, paragraphs, images, navigation items, and buttons. Convert repeated interface elements into components so they can be reused across different pages.
Use Auto Layout where appropriate to manage spacing and alignment. This helps make the design easier to maintain when content changes.
Step 5: Refine Typography, Colors, and Spacing
AI-generated designs may contain inconsistent font sizes, uneven margins, or visual elements that do not match your brand guidelines.
Review the typography, color palette, button styles, border radii, and section spacing. Apply consistent text styles and reusable color variables where appropriate.
Compare the Figma design with the original AI-generated website to identify important differences.
Step 6: Create Responsive Designs and Prototypes
After refining the desktop layout, prepare additional frames for mobile and tablet screens.
Use Auto Layout and constraints to organize elements that need to resize or reposition. Reconsider complex navigation menus and multi-column sections for smaller screens.
You can also use Figma’s prototyping features to connect screens, demonstrate navigation flows, and present the proposed experience to clients.
Remember that a prototype demonstrates planned interactions; it does not automatically reproduce the website’s production functionality.
Best Practices for an Effective AI-to-Figma Workflow
Follow these recommendations to improve your results:
- Choose compatible tools: Confirm export and import capabilities before committing to a workflow.
- Review generated layouts: Correct structural issues before transferring the design.
- Keep layers editable: Avoid relying on a single flattened screenshot as the final deliverable.
- Build reusable components: Use consistent buttons, cards, navigation elements, and typography.
- Check responsive behavior: Design for different screen sizes rather than simply shrinking desktop layouts.
- Inspect the final file: Check alignment, text accuracy, image quality, and layer organization.
These practices help turn a quick AI-generated concept into a practical design asset.
Common Challenges When Moving AI Websites to Figma
One challenge is the loss of design structure during conversion. Some tools export flattened images or simplified layouts instead of separate editable elements.
Another problem is inaccurate styling. Fonts, image dimensions, and spacing may differ between the generated website and the imported design.
Complex websites can also require substantial manual work, especially when they include dynamic content, advanced navigation, or custom interactions.
The solution is to select the most suitable conversion method, verify the output early, and allow time for manual refinement.
Conclusion
AI website design to Figma offers a useful workflow for transforming AI-generated website concepts into editable design files. By checking export options, importing compatible layouts, organizing components, and refining responsive designs, you can create professional interfaces that are easier to maintain and share.
AI can accelerate the initial design process, but it does not eliminate the need for design judgment. The best results come from combining automated generation with careful editing, consistent design systems, and practical user experience principles.
Whether you are developing a landing page, business website, or SaaS interface, a well-managed AI-to-Figma workflow can help you move from concept to design more efficiently.

One thought on “AI Website Design to Figma: A Complete Guide”